If you read nothing else
- Ice caves in Vatnajökull are only accessible in the winter months, from November and usually throughout March, depending on the weather.[1]
- The Skaftafell tour is 4 hours with a small group limited to 12 participants and a live tour guide in English.[2]
- Book from US$167 and reserve now, pay later, with free cancellation up to 24 hours in advance.[2]
- Parking at Skaftafell is subject to a regional fee, with a passenger car of 5 or fewer seats charged 1,110 ISK.[3]
- Pack a microfibre cloth and a small dry bag. Meltwater, silt and condensation do more damage to a lens than the cold does.
- Top choice Blue Ice Cave & Hike from US$167 Duration4 hours[2]Rating4.62 from 848 reviews[2]GuideLive tour guide: English[2]CancellationCancel up to 24 hours in advance[2] Check availability
- Ice Cave & Glacier Hike from US$162 Duration4 hours[4]Rating4.53 from 1,962 reviews[4]GuideLive tour guide: English[4]CancellationCancel up to 24 hours in advance[4] See this tour
- Blue Ice Glacier Hike from US$106 Duration4 hours[5]Rating4.71 from 1,357 reviews[5]GuideLive tour guide: English[5]CancellationCancel up to 24 hours in advance[5] See this tour
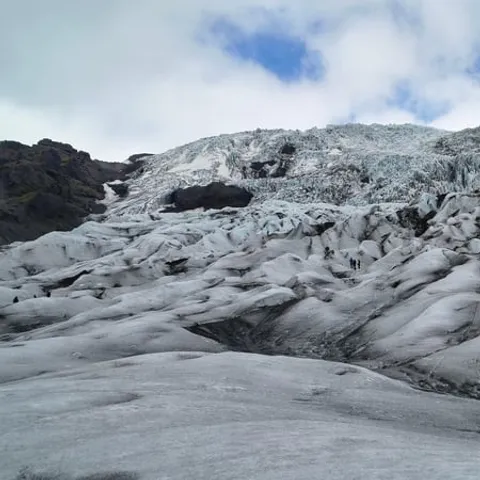
On the 5th of July 2019 Vatnajökull National Park was inscribed on UNESCO’s list of World Heritage Sites.
Is the Skaftafell blue ice cave tour worth it for photographers?
Prepare for the day
- Charge every battery and format your cards the night before
- Book the Skaftafell blue ice cave and glacier hike ahead of your date
- Pack a lens hood, two microfibre cloths and a small dry bag
- Check the forecast and the daylight hours for the day you travel
On the ice
- Stay with the group and keep the rope line clear for photographs
- Keep spare batteries in an inside pocket, close to your body
- Allow time to walk to the meeting point before your start time
- Carry a card for the Skaftafell parking fee at the ticket machine
Why Glacier Blue Looks Grey on Your Phone
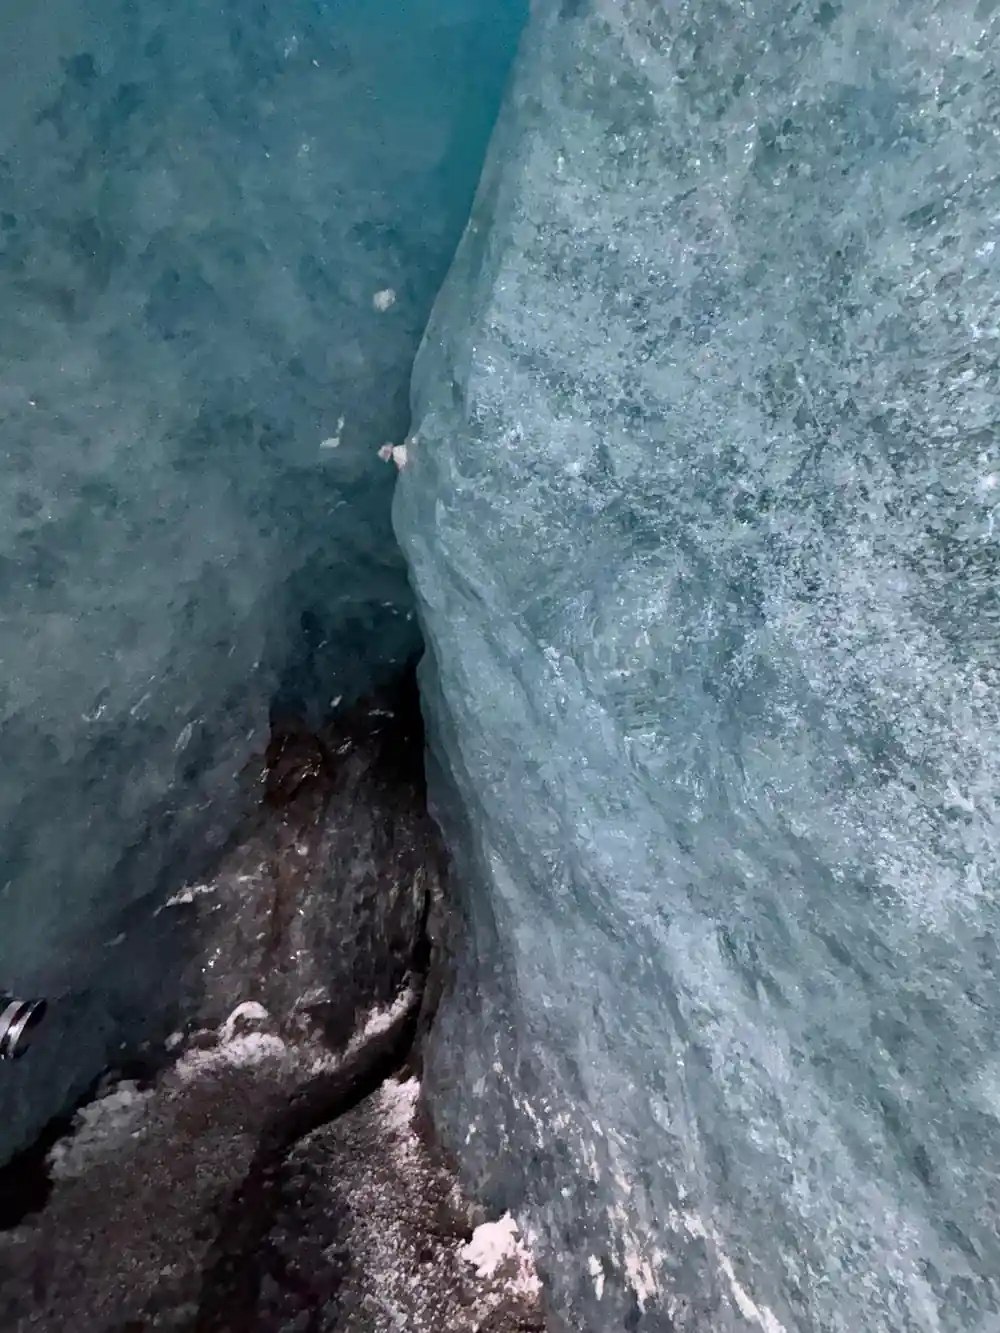
Blue ice is one of the strangest things to point a camera at. The colour is real, but it is faint, and it shows up where the ice has been compressed hard enough to squeeze the air out of it. Your phone cannot know that. It reads the whole frame, sees a great deal of bright snow and dark volcanic rock, and averages everything into a neutral grey that flatters none of it. The result is a picture of a cave that looks as though it was lit by a strip light in a car park.
The fix is to take that decision away from the camera. Lock the white balance on a cool setting or set it by hand, keep the exposure slightly dark so the ice holds its colour, and shoot raw if your camera or phone allows it. Add something neutral to the frame, a glove or a grey card, and you have a reference for editing later. The scale of the place is worth a frame of its own: Vatnajökull has a surface area of approximately 8,100 square kilometers (3,127 square miles) and is the largest glacier in both Iceland and Europe[6], and its ice averages about 380 metres thick, though in places it is almost a kilometre deep[7].
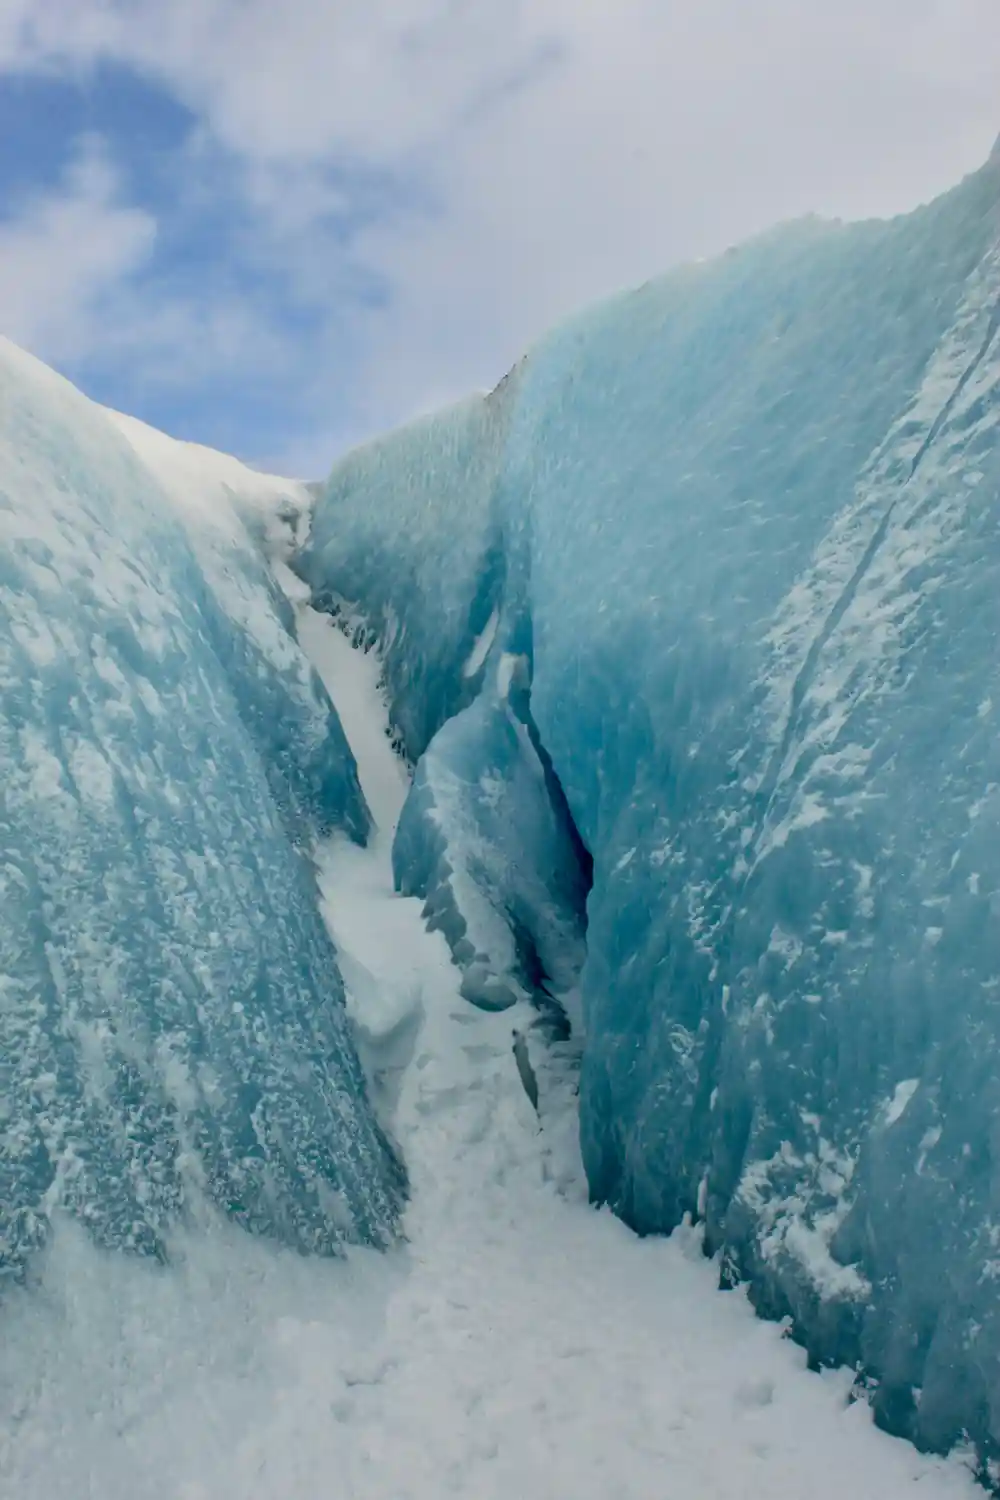
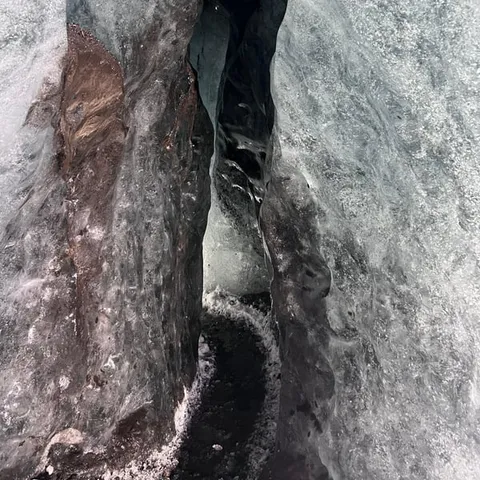
Expect the strongest colour where the ice is thickest and light is passing through it rather than bouncing off the surface. Deep crevasses, cave ceilings and the undersides of overhangs are where the blue lives. Ice that faces open sky usually reads as white or grey, however blue it looks to your eye.
Protecting Batteries and Electronics in Glacier Cold
Cold is hard on lithium batteries. They lose voltage quickly, and a camera that showed a full bar in the car park can shut down after a few minutes on the ice. The answer is warmth rather than more capacity. Keep two spare batteries inside an inner pocket, swap them before the one in the camera dies, and let the cold one recover next to your body. A phone behaves the same way, so keep it in a pocket rather than a hip belt or an outside pouch.
Ice cave tours run in the winter months, from November and usually throughout March, depending on the weather[1], so this is not a marginal concern. Carry a power bank in the same inside pocket, with a short cable, and charge everything the night before rather than in the morning. If you wear gloves with touchscreen fingertips, test them at home. Fumbling a phone with cold hands is how screens end up on the ice.
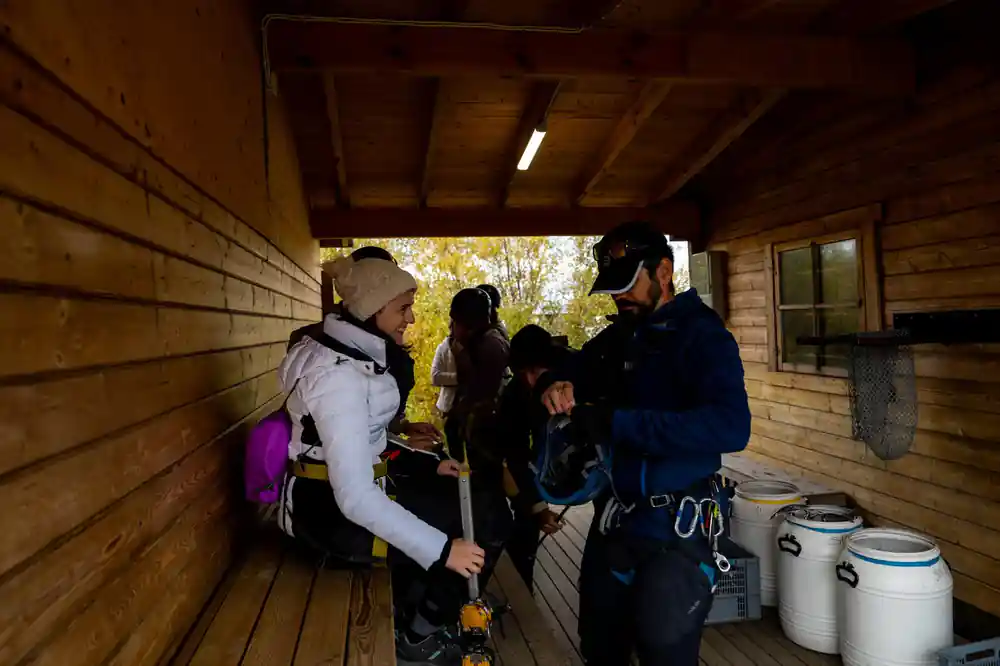
You carry your own kit on the Skaftafell blue ice cave and glacier hike on Vatnajökull, which lasts 4 hours[2] with a live tour guide in English[2]. A chest pouch or a small shoulder bag keeps the camera within reach, and it saves you taking off a pack while you are standing on a slope.
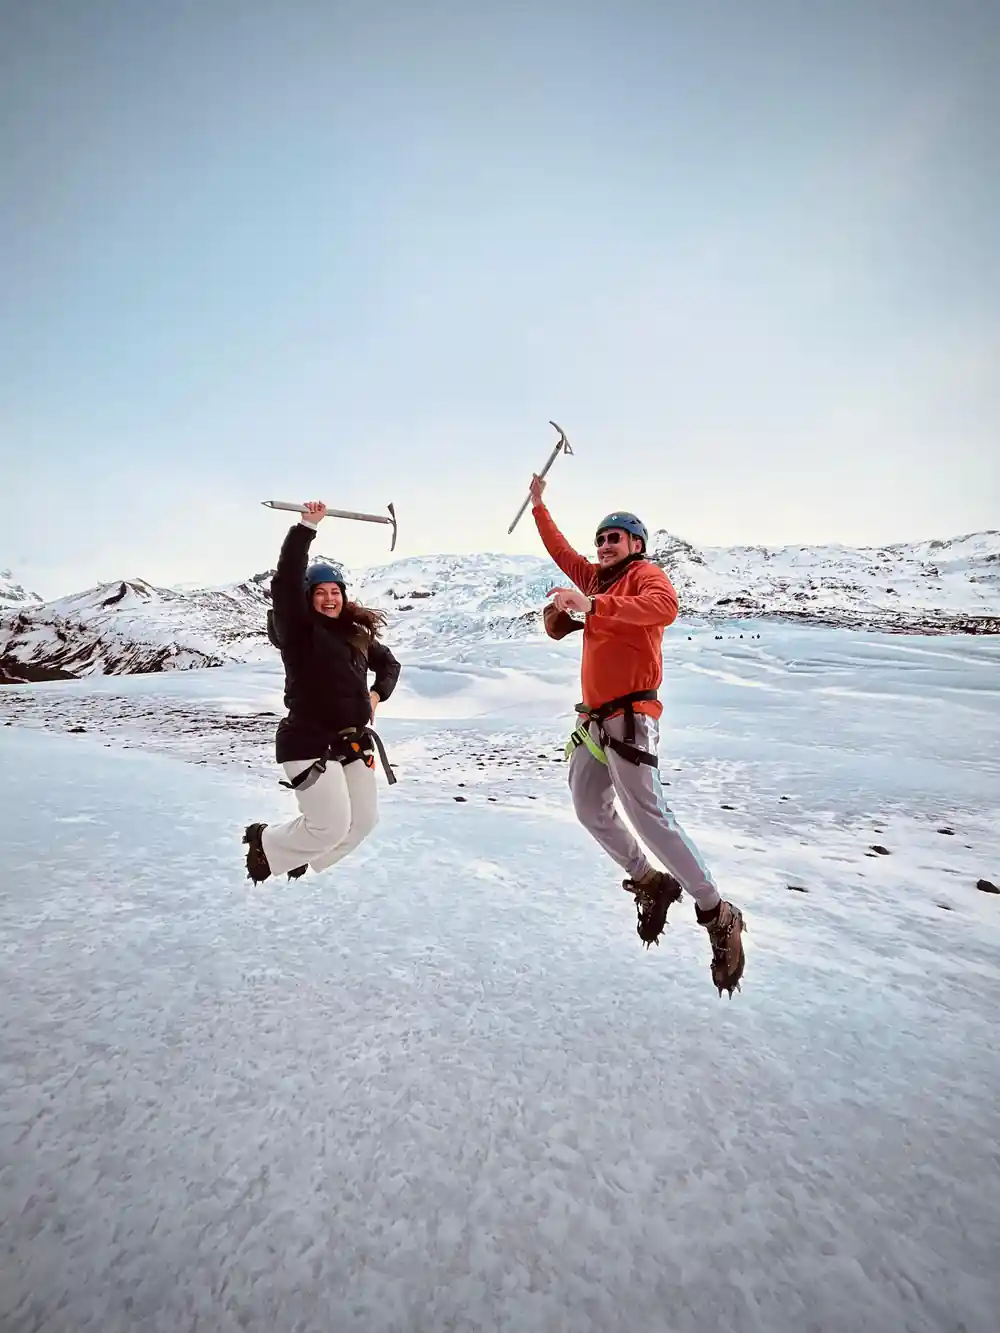
Blue only shows where the ice is dense and the light comes through it.
Light and Timing Inside the Ice Cave
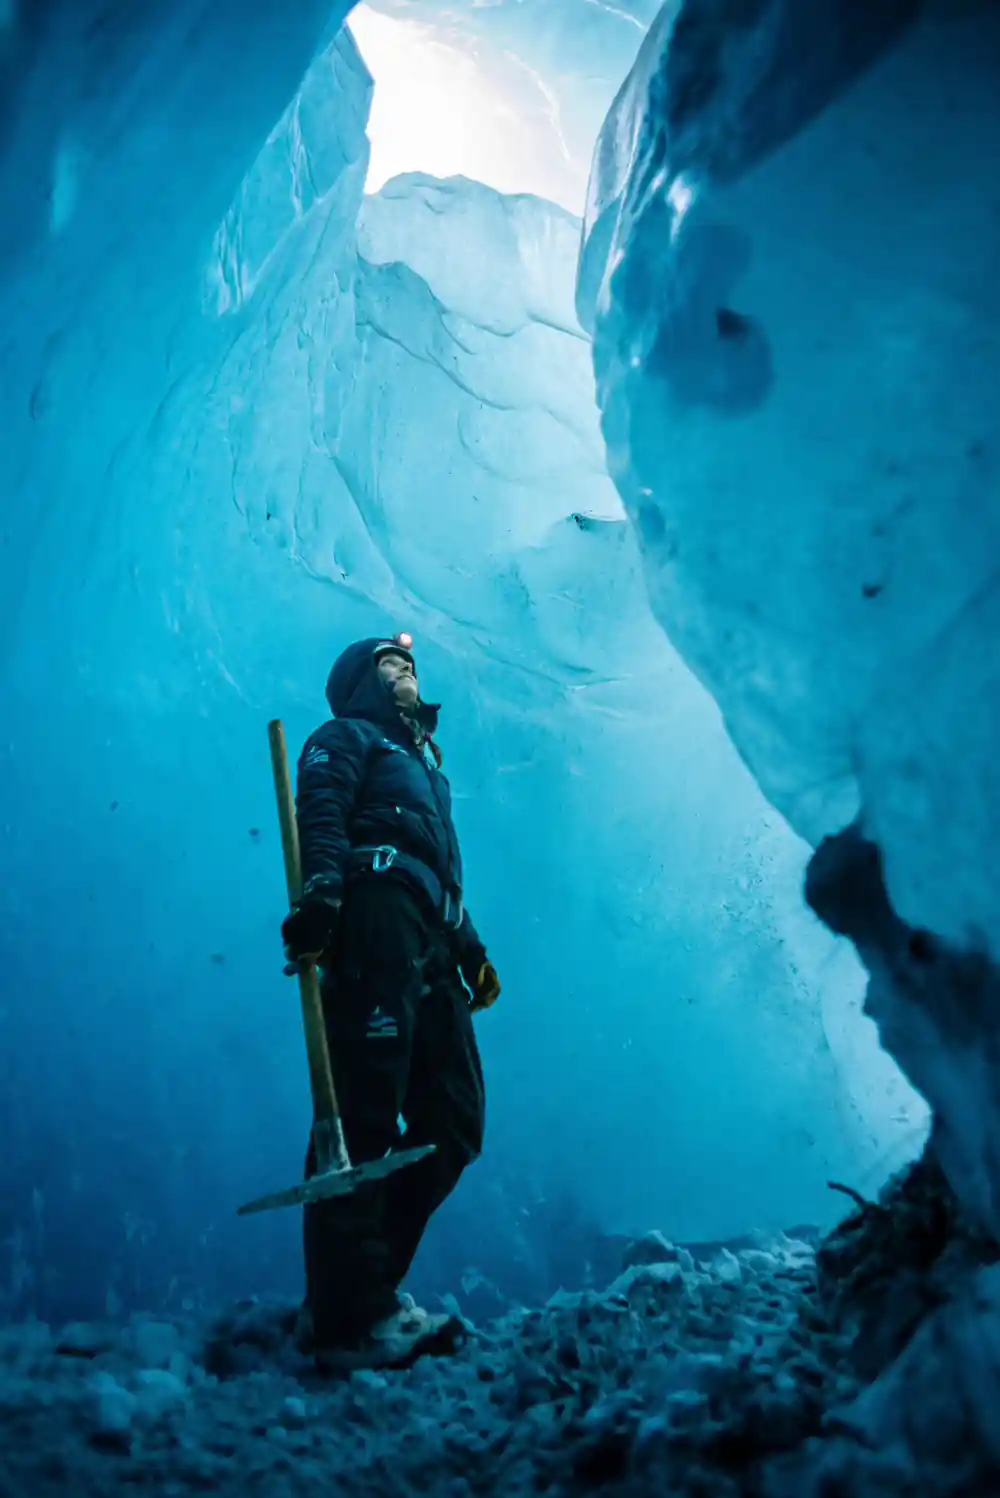
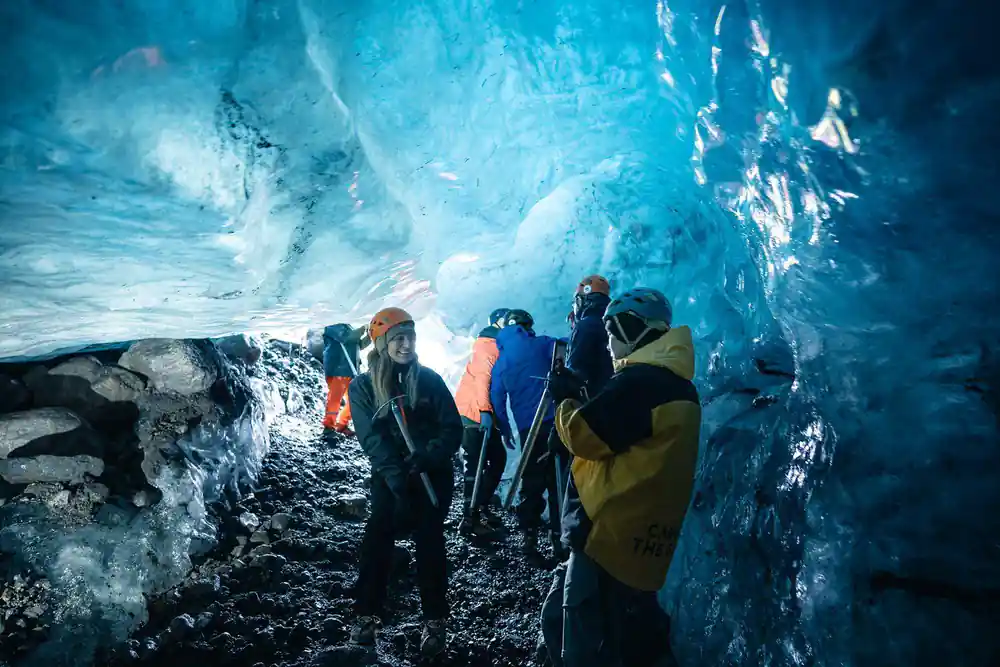
The blue in a cave comes from light that has travelled through the ice rather than light falling on it, so the ceiling and the back wall often hold the most saturated colour in the frame. Photograph them from further back, with the entrance or a guide's torch as your light source, and resist the urge to fire a flash straight at the ice. Flash flattens a cave into a grey wall and throws hard shadows on your companions.
Midday is not automatically the best time. A bright overcast day often gives the most even light at the cave mouth, while hard sun makes the contrast between snow and shadow almost impossible to hold in one frame. Bracket your exposures and choose later. Starting times for the Skaftafell tour are shown when you check availability[2], so plan the drive and the walk to the meeting point with time to spare.
Inside, the light changes as clouds move and the group shifts position. Take your first frames early, before everyone gathers in the same spot, and shoot again on the way out. A cave looks completely different from the other direction.
Shielding Lenses from Meltwater and Ice Spray
Water is the enemy here, and it arrives in three forms: drips from the ceiling, spray from ice that shatters underfoot, and condensation when a cold camera meets warm air. A lens hood, a microfibre cloth in a zip pocket and a dry bag for the walk back to the vehicle solve most of it. Wipe the front element with a clean cloth rather than a sleeve, since glacial silt is fine enough to grind a coating.
Never change a lens inside the cave. If you have to swap, do it in the vehicle or the shelter, out of the wind. The stops on the Skaftafell blue ice cave and glacier hike run from the bus or coach to Vatnajökull and Falljökull and back to the bus or coach[2], so there is a dry place to sort your kit before and after the walk.
Before you go back indoors, put the camera in its bag and let it warm up slowly. Condensation then forms on the outside of the bag instead of on your sensor and lens elements. A silica gel sachet in the bag helps, and it costs you nothing to carry.
from US$167
A blue ice cave visit and a glacier walk from Skaftafell, with a live guide in English and free cancellation.[2]
Photographing Your Companions on Roped Terrain
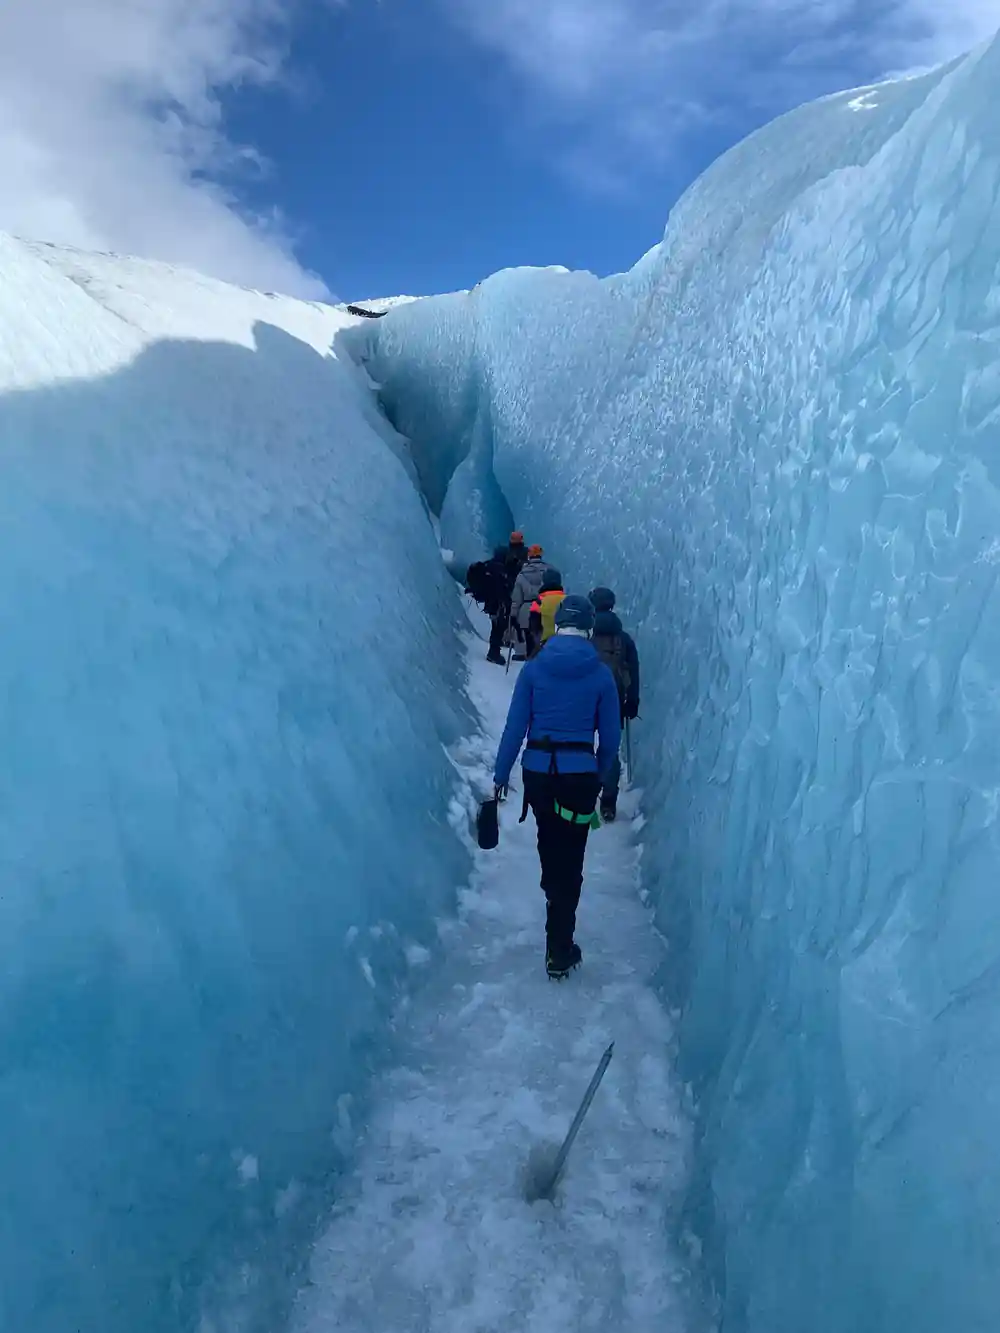
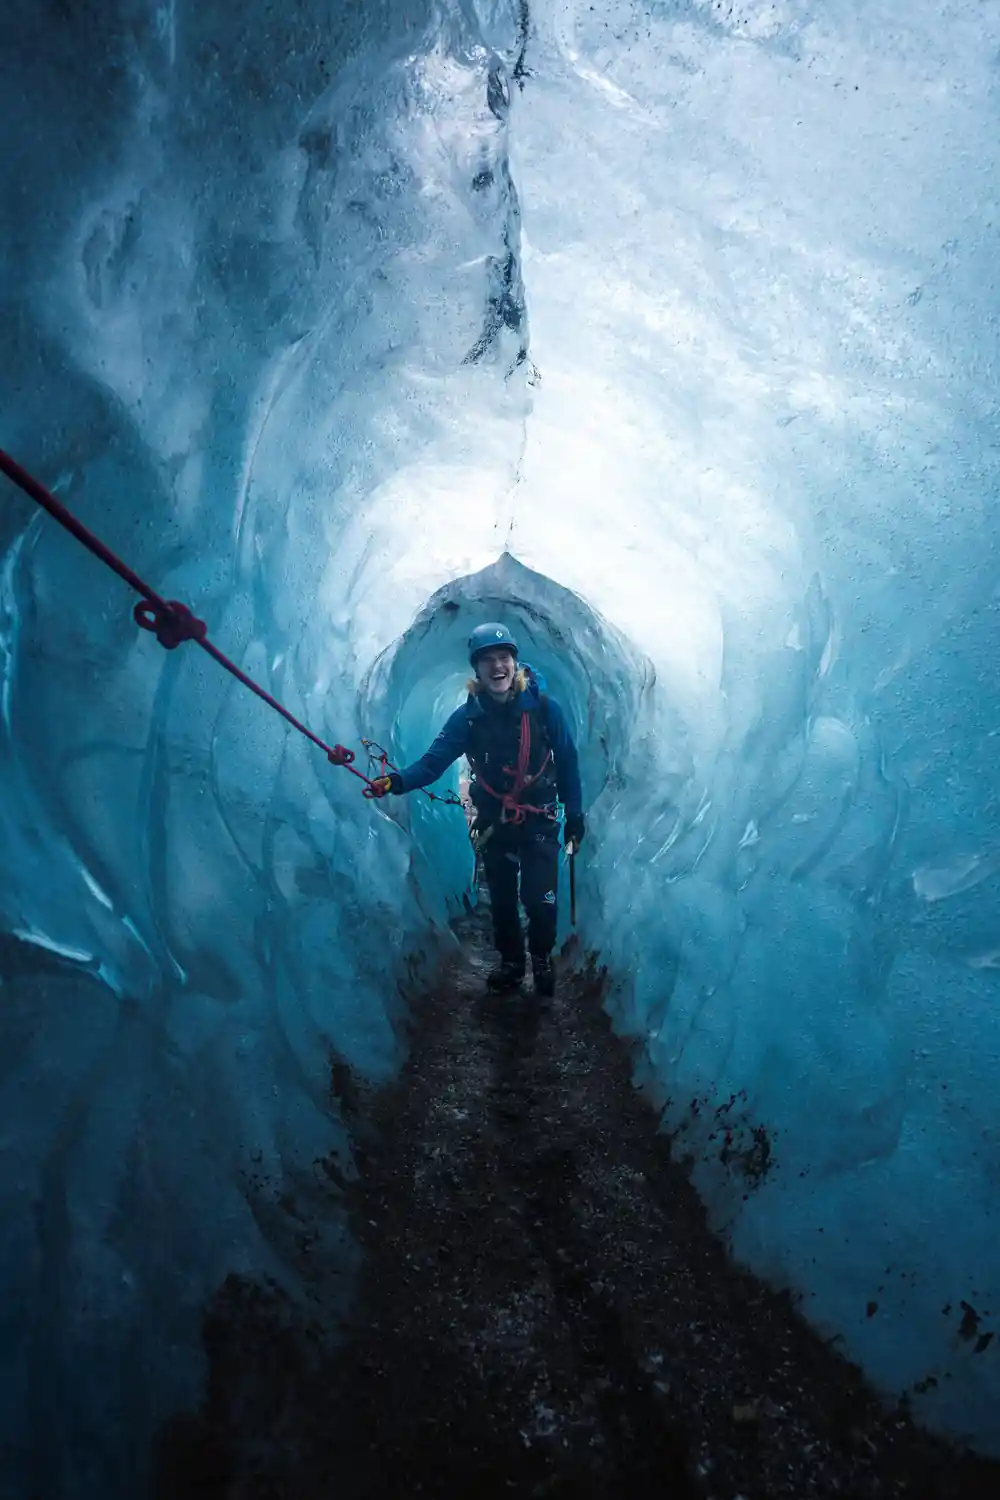
People make an ice cave readable. A figure in a bright helmet at the far end of a passage shows the size of a space that rocks and ice alone cannot, and it gives the eye somewhere to rest. Wait for somebody to move into the light, then shoot. If you want empty frames, stay at the back of the group and photograph the gallery once it has moved on.
On the rope, keep both hands free and the camera on a short strap or in a pouch. The Skaftafell blue ice cave and glacier hike is limited to 12 participants[2], which keeps a cave quiet enough to work in and means you are rarely shooting through a crowd. Ask before posting close shots of other travellers, and offer to send them the frames you took.
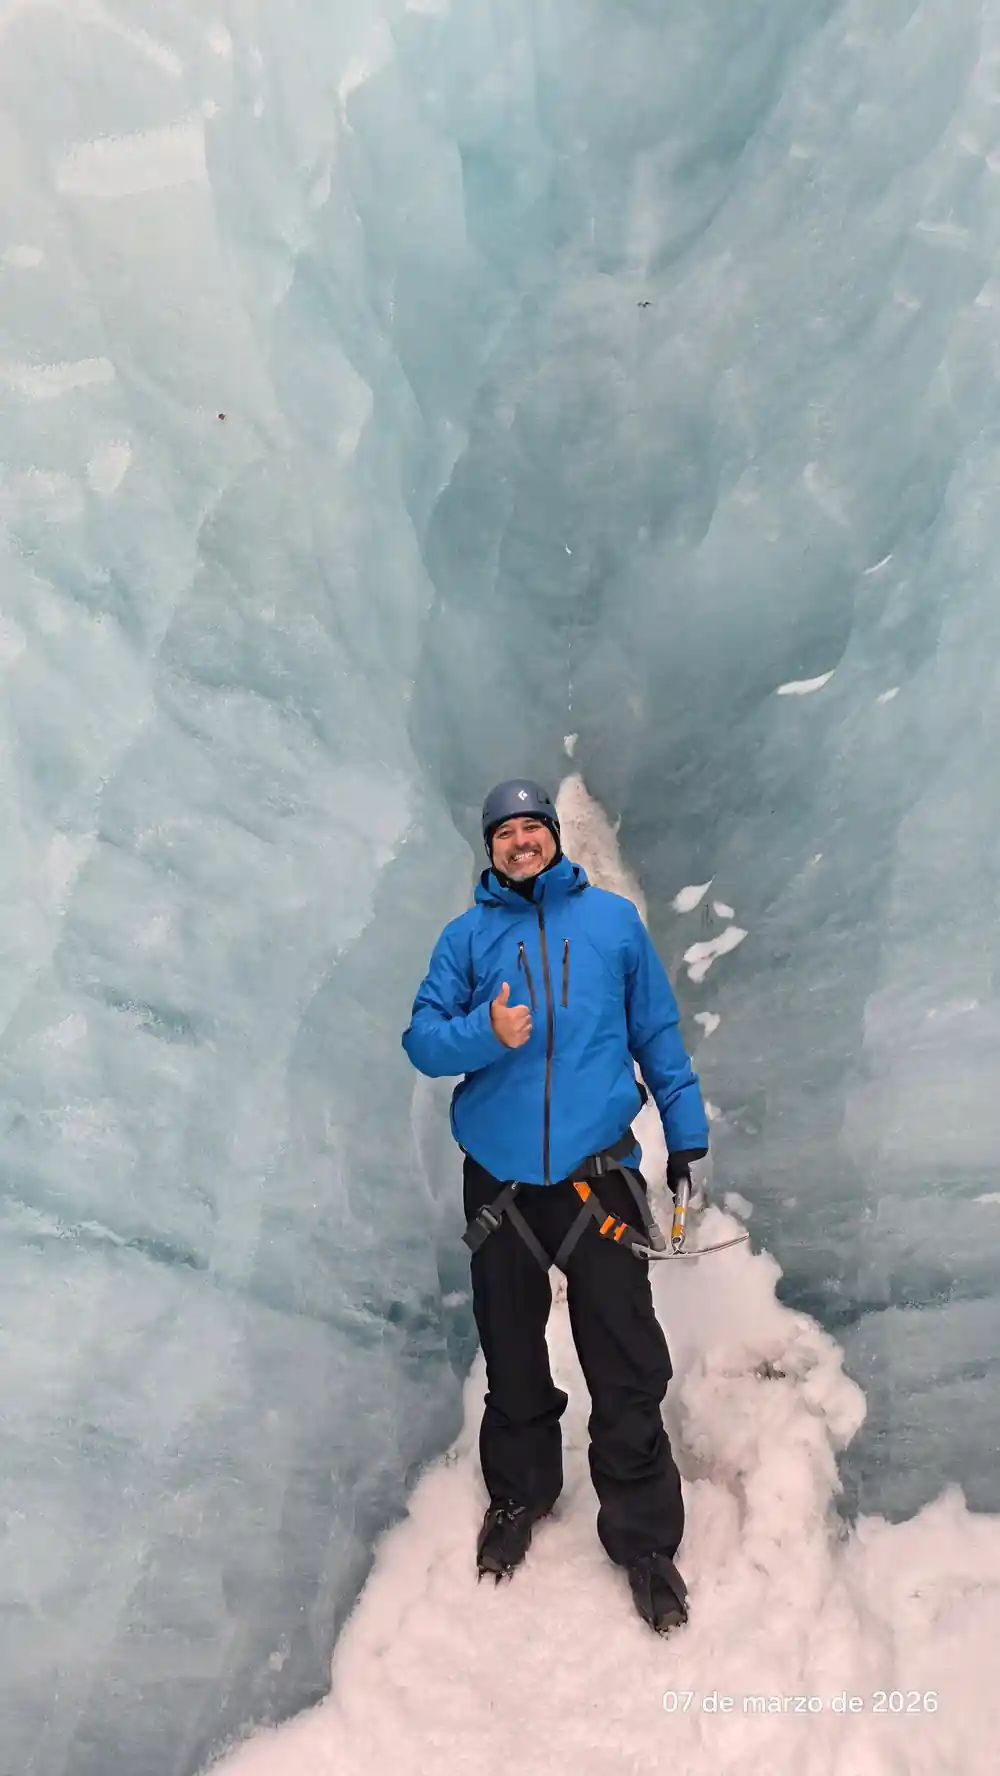
Portraits on a glacier look best when you expose for the face and let the snow go bright, and when you shoot from slightly below so the ice fills the background. Take one wide frame of the whole scene as well. The small figure in the big landscape is usually the picture people keep.
Gear Setup Before You Leave Skaftafell
Sort your kit the night before, not in a car park in the wind. Charge everything, format the cards, set the date and time, clean the sensor if it needs it, and put the cloth, the spare battery and the power bank in the pockets you will actually reach with gloves on. A tripod is rarely worth carrying on ice. A small pouch and a steady stance do more for you.
Skaftafell is about 327 km (203 miles) from Reykjavík by car via Route 1, a drive that takes approximately 4.5 hours[8], and the direct drive from Skaftafell to Jökulsárlón is 35.4 miles (57 km), about 50 minutes in normal traffic[9]. Parking at Skaftafell is subject to a regional fee, with a passenger car of 5 or fewer seats charged 1,110 ISK[3], and the Skaftafellsstofa Visitor Centre opens 9-17 from March to May and 9-19 from June to August[10].
The approach to the ice passes Falljökull, a striking outlet glacier of the vast Vatnajökull ice cap[11], and Hvannadalshnúkur stands 2110 meters, or 6900 feet, high[12] above the coastal plain on a clear day. Use that walk to warm up your settings. Vatnajökull National Park was inscribed on UNESCO's list of World Heritage Sites on 5 July 2019[13], and the view from the trailhead is a fair subject in its own right.
Aerial and Drone Photography Restrictions
Drone questions belong to the park authority rather than to your guide. Whether you need a vatnajökull national park drone permit, and where you may fly, is decided by Vatnajökull National Park rather than by your booking agent, and it can change with the season. Read the park's own information before you travel and before you pack a drone. A forum post from a few winters ago is not a permit.
Even where flying is allowed, a cave is the wrong place for it. Rotors throw grit and water, they are loud in a space the size of a living room, and the downdraft disturbs the ice and the people on the rope. The Skaftafell blue ice cave and glacier hike is limited to 12 participants[2], so a drone in the cave would be flying around almost everybody in the group.
Frames taken now are also a record. Since the year 2000, Icelandic outlet glaciers have retreated exceptionally fast, and their mass loss is among the highest recorded in the world[14], so a photograph of a cave mouth is a dated document as well as a souvenir. Shoot the same ice from the same spot at the beginning and the end of your visit, and keep the files. The ice is also sitting on volcanoes: Grímsvötn, Öraefajökull and Bardarbunga are the three most famous subglacial volcanoes under Vatnajökull[15].
From-prices per person on ice cave and glacier tours
What a blue ice day costs
From-prices per person in US dollars.[2][5][16]
Timing your ice cave trip
Shooting the blue ice
Set white balance first
Lock it before you walk in, on a cool setting or manually, so the camera stops chasing the snow. Test one frame at the cave mouth and adjust.
Expose for the bright ice
Keep the highlights from burning out. Blue sits in the mid tones. Bracket a stop either side and pick the frame with the most colour when you edit.
Use a person for scale
A figure in the passage shows the size of the space and gives the eye a resting point. Wait for them to stand in the light, then shoot wide.
Wipe, then wipe again
Drips and spray land on the front element constantly. A clean microfibre cloth in a zip pocket is worth more than any filter on a day like this.
Warm the camera slowly
Back at the bus or shelter, bag the camera and let it warm up slowly. Condensation inside a lens is the one mistake you cannot fix later.
Book the Skaftafell blue ice cave and glacier hike
from US$167Reserve now & pay later