If you read nothing else
- The Blue Ice Cave and Glacier Hike on Vatnajökull is limited to 12 participants, so your guide can check every crampon and strap before you set off.[1]
- The hike runs for 4 hours, starting times vary by date, and there is a live English-speaking guide with free cancellation up to 24 hours in advance.[1]
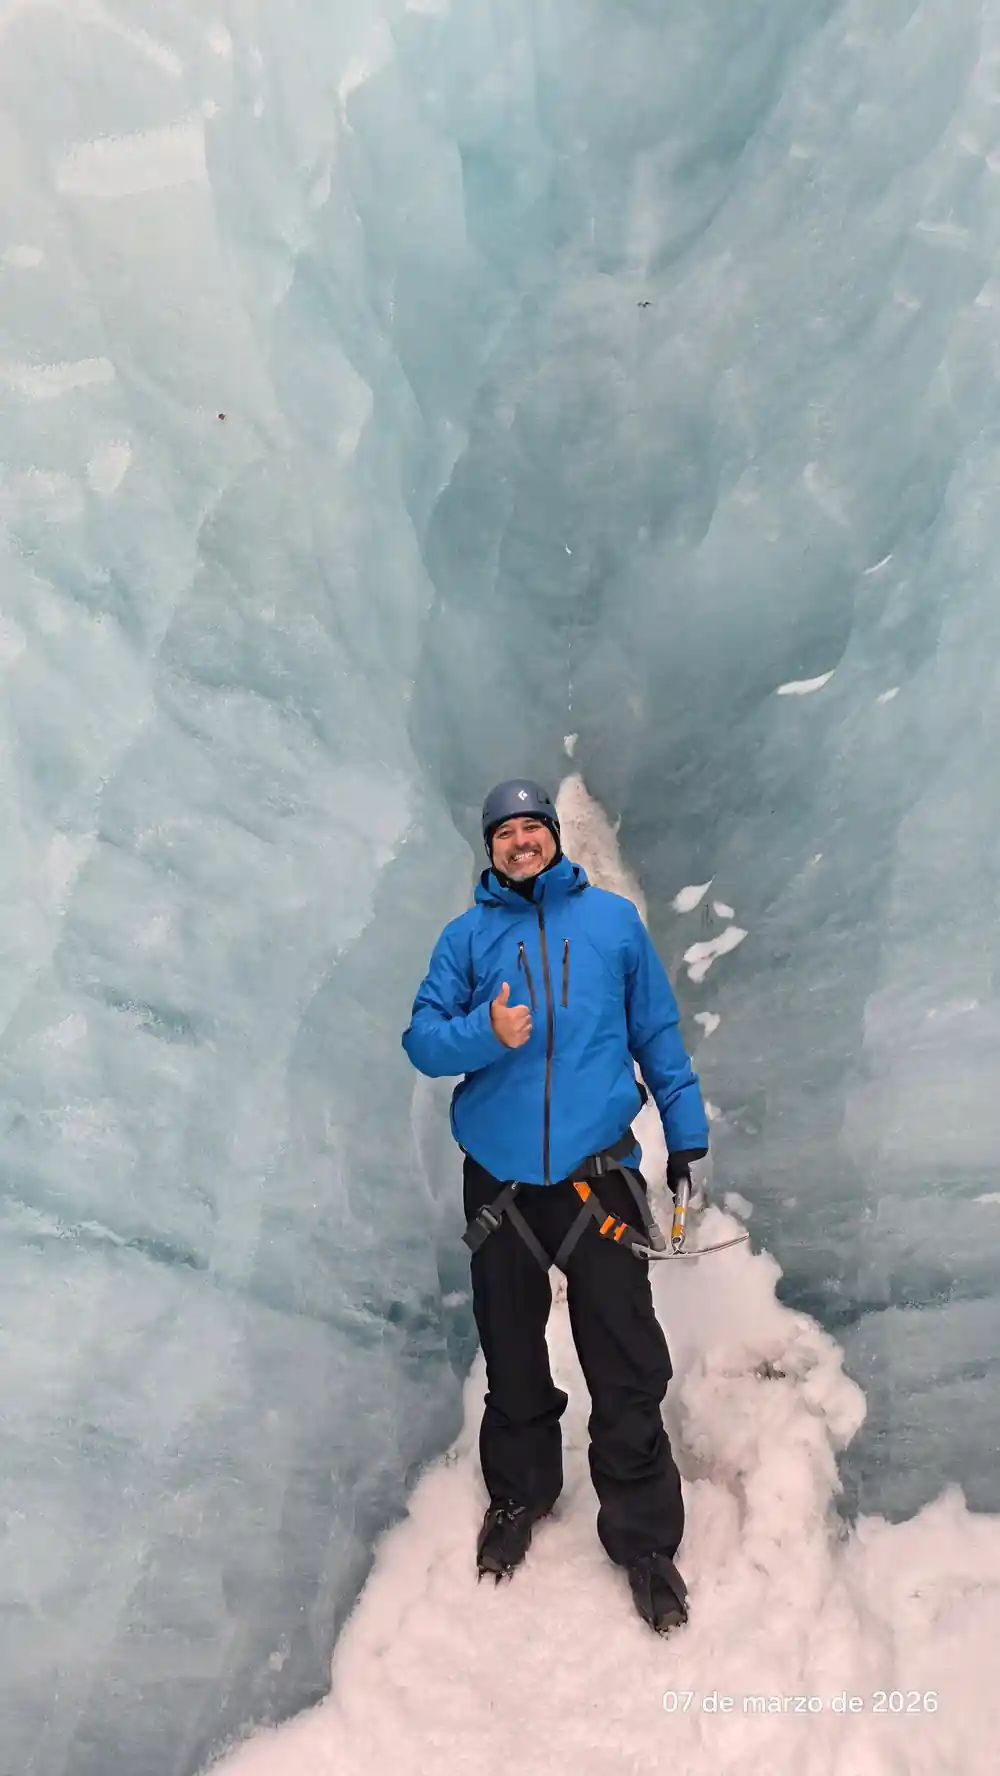
- Crampons, a harness, an ice axe and a helmet are the standard kit for a guided glacier walk, and the fitting happens at the base before the transfer out to the ice.[1]
- Ice caves in Vatnajökull's outlet glaciers are only accessible during the winter months, from November and usually throughout March, depending on the weather.[2]
- Most stumbles happen on flat ground, where a front point catches a ridge of ice or a strap snags a bootlace, so pick your feet up and keep your steps short.
- Top choice Ice Cave & Glacier Hike from US$167 Duration4 hours[1]Ratingrated 4.62 from 848 reviews[1]GuideLive tour guide: English[1]Free cancellationCancel up to 24 hours in advance[1] Check availability
- Ice Cave & Glacier Walk from US$162 Duration4 hours[3]Ratingrated 4.53 from 1,962 reviews[3]GuideLive tour guide: English[3]Free cancellationCancel up to 24 hours in advance[3] See this tour
- Blue Ice Glacier Hike from US$106 Duration4 hours[4]Ratingrated 4.71 from 1,357 reviews[4]GuideLive tour guide: English[4]Free cancellationCancel up to 24 hours in advance[4] See this tour
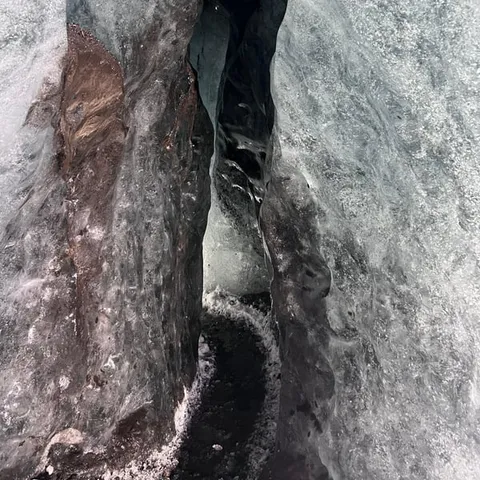
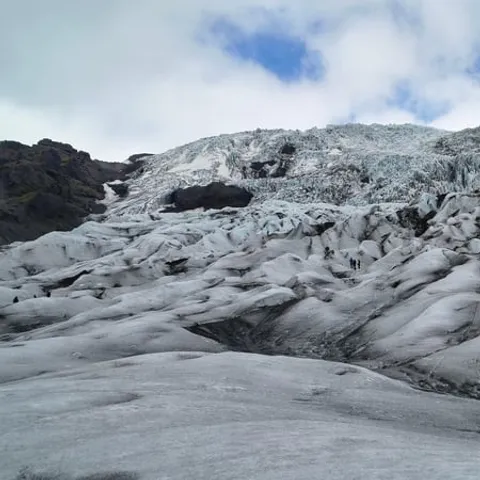
After 1890, most glaciers began to retreat and since the year 2000 the outlet glaciers have retreated exceptionally fast, and their mass loss is among the highest recorded in the world.
Our verdict on the Skaftafell glacier hike
Before you leave the car park
- Parking at Skaftafell is a paid regional fee, so keep a card handy for the machine
- Give yourself a buffer: check-in and gear fitting both happen before the transfer sets off
- Coming in winter? Ice cave trips run in the cold months, so match your dates to that window
- Driving from Reykjavík takes most of a day, so staying nearby the night before is the calm option
Once you are on the ice
- Let the guide check every crampon strap and harness buckle before you move off
- Stay with your small group and follow the exact line the guide walks
- Keep the helmet on inside the cave as well as out on the glacier
- Pack dark sunglasses, because bright ice is hard on the eyes
What you are handed at the Skaftafell base
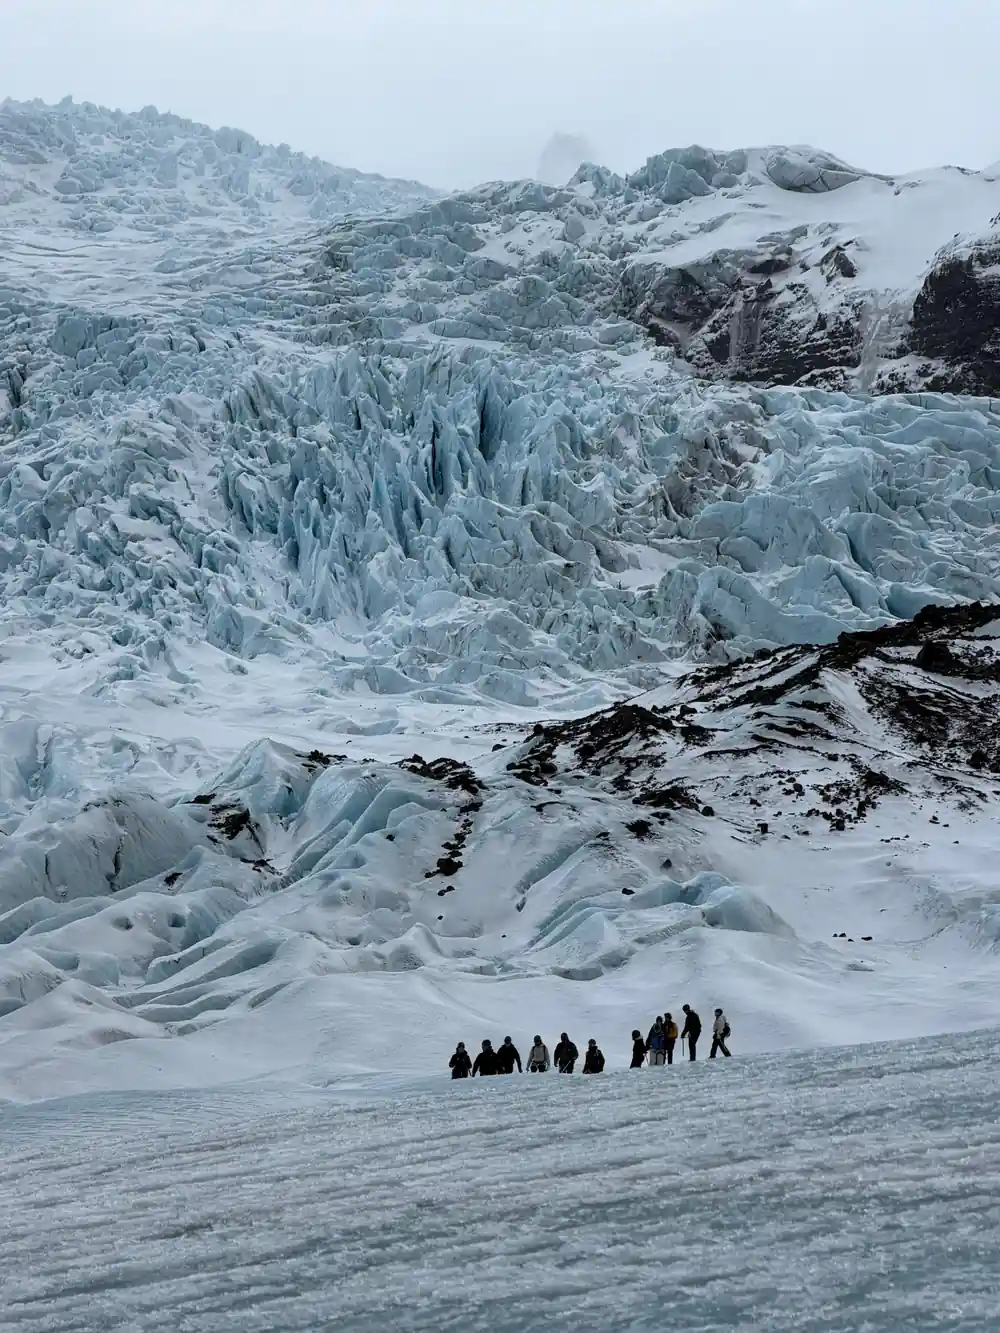
Guided glacier trips around Skaftafell begin on solid ground at the edge of the national park, where you meet your guide and get kitted out. The Blue Ice Cave and Glacier Hike on Vatnajökull runs for 4 hours[1], and the group is limited to 12 participants[1], so the gear fitting does not turn into a scrum. Your guide speaks English[1], and the day's route heads out towards Falljökull, one of the outlet glaciers that drain the vast Vatnajökull ice cap.[5] Starting times vary by date, so check availability when you look at dates.[1]
There is no need to buy mountaineering kit for a single day out. The crampons used on a guided walk clamp onto ordinary sturdy hiking boots, the harness is a simple sit harness with a belay loop and adjustable leg loops, and the axe is a straight-shafted walking model rather than something for vertical ice. All of it is adjustable, and the guide will show you which strap to pull and how tight it should sit. If something feels wrong on your boot, speak up at the fitting rather than on the ice.
The one thing worth turning up in is a pair of stiff-soled boots with a defined heel, because crampons hold best on a boot with a clear edge and a solid sole. Trainers and soft trail shoes make the fitting awkward and the walking harder, and cold feet make everything else on the ice more difficult than it needs to be.
How crampons attach to your hiking boots
A walking crampon is a frame of metal points that sits under the sole of your boot, held on by straps over the toe and around the heel. Some models also have a wire or plastic bail that clips into a welt at the back of the boot, which is why the guide may ask to look at the heel of your footwear before choosing a set. The points face down and forward, and the frame should sit flat rather than tilted.
Fitting is a two-minute job with a check at the end. Push the boot into the crampon until the heel sits properly in the rear cup, do the straps up from the toe backwards, and pull them firm. Then grip the boot and try to twist the crampon off. If it moves, tell the guide before you walk anywhere. Boots with a deep heel welt take a step-in set; softer boots need a strap-on set, and the guide will know which is which without being asked.
Walking on gravel and rock with spikes on is the part people find surprising. Steel points skate on smooth stone and catch on loose pebbles, so shorten your stride, place your feet flat and avoid stepping onto the edges of your boots. If a stretch of the approach path is bare, that is normal, and the guide will pick the easiest line through it.
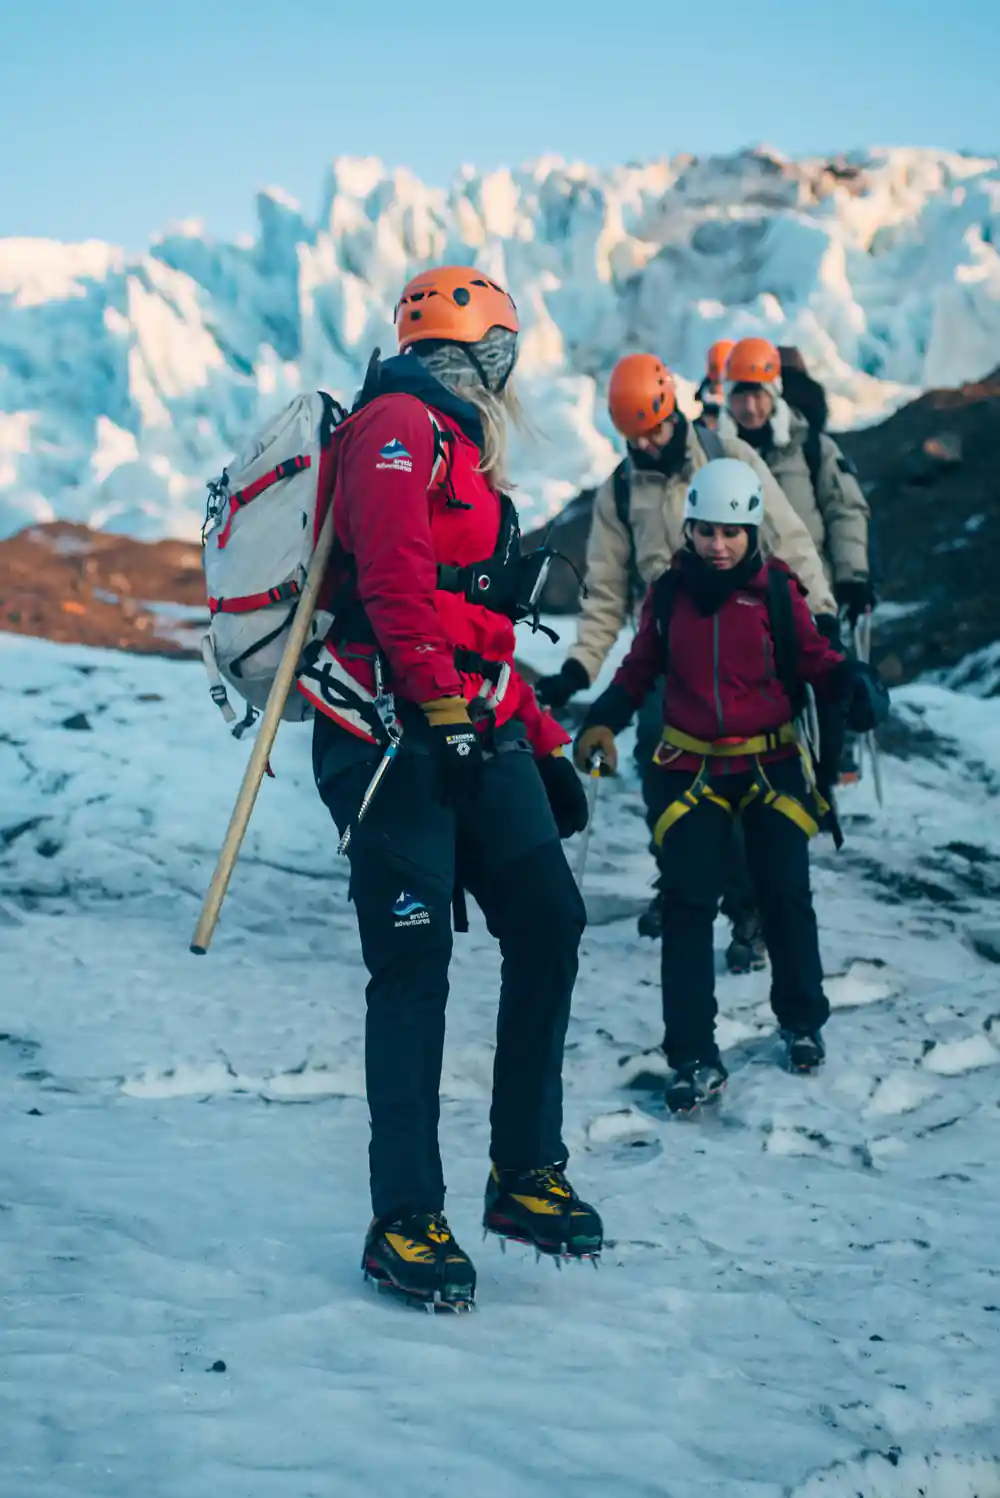
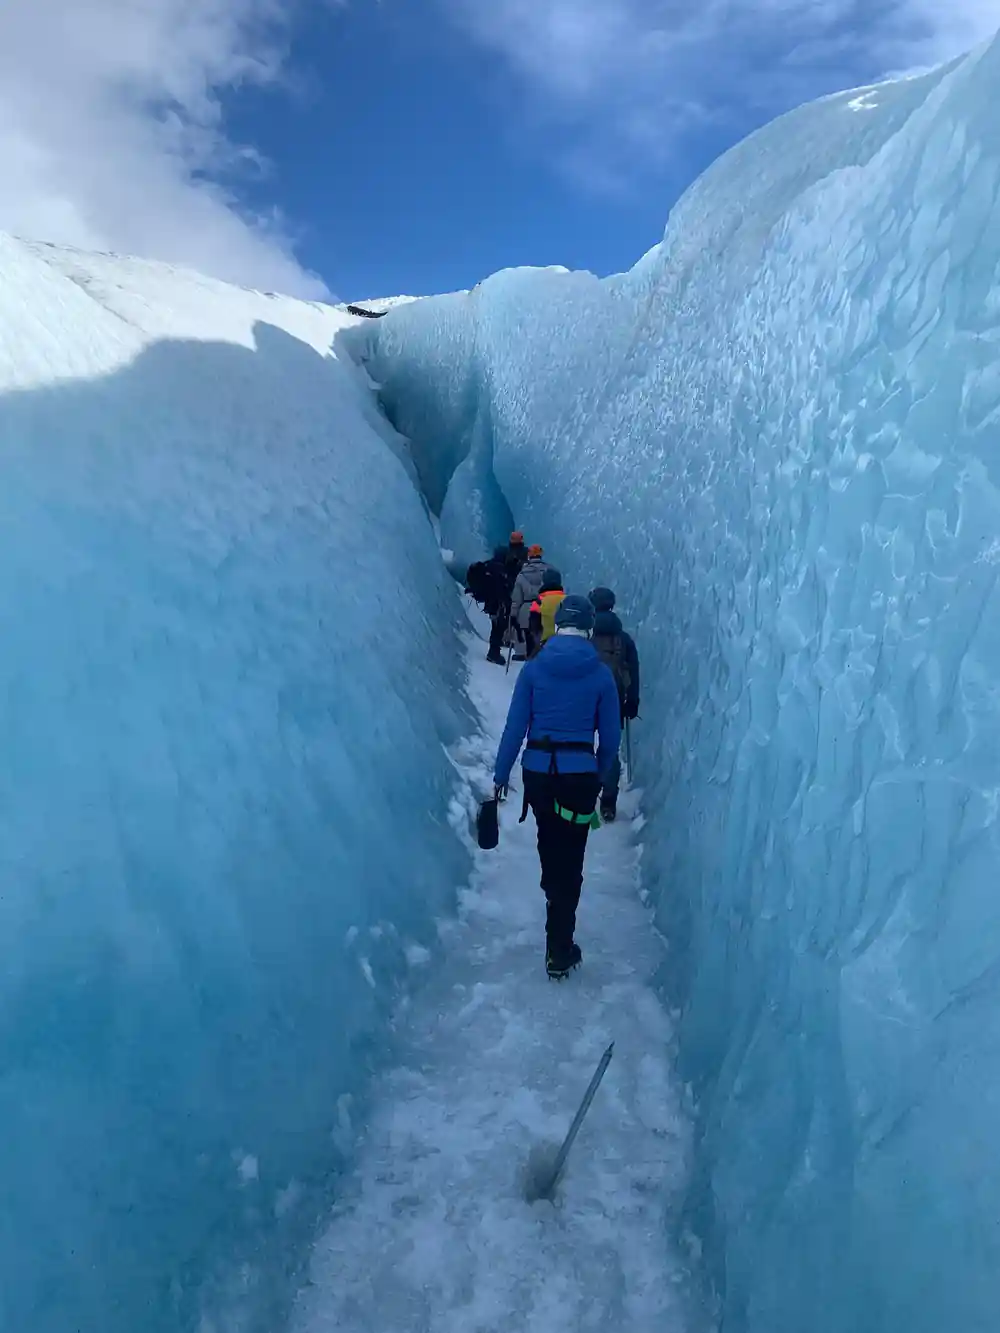
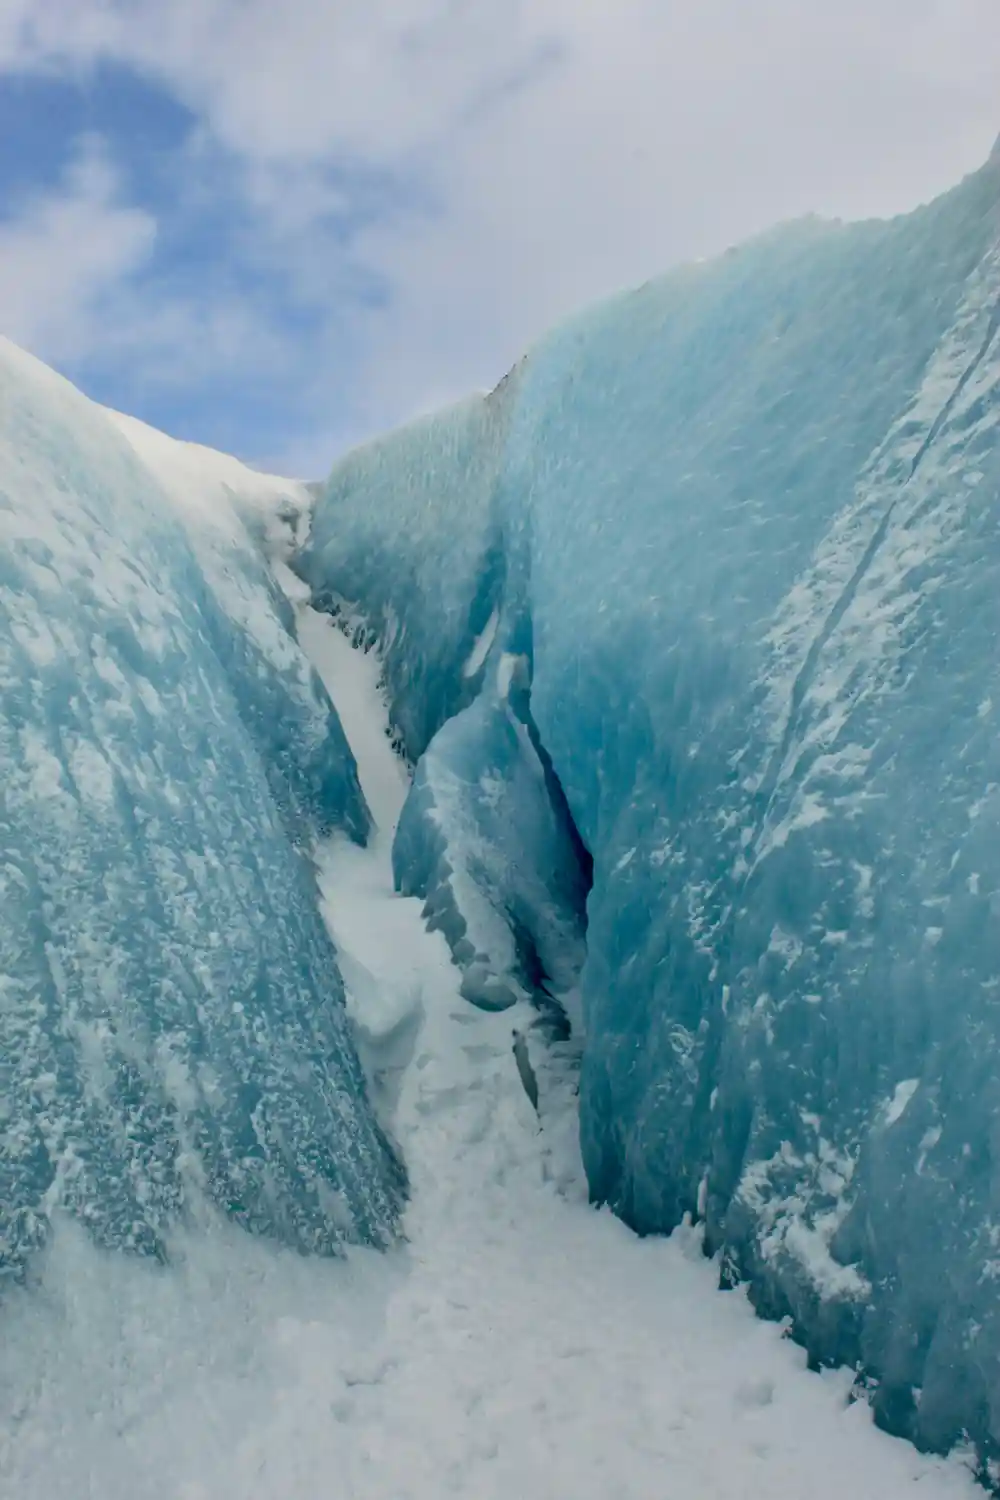
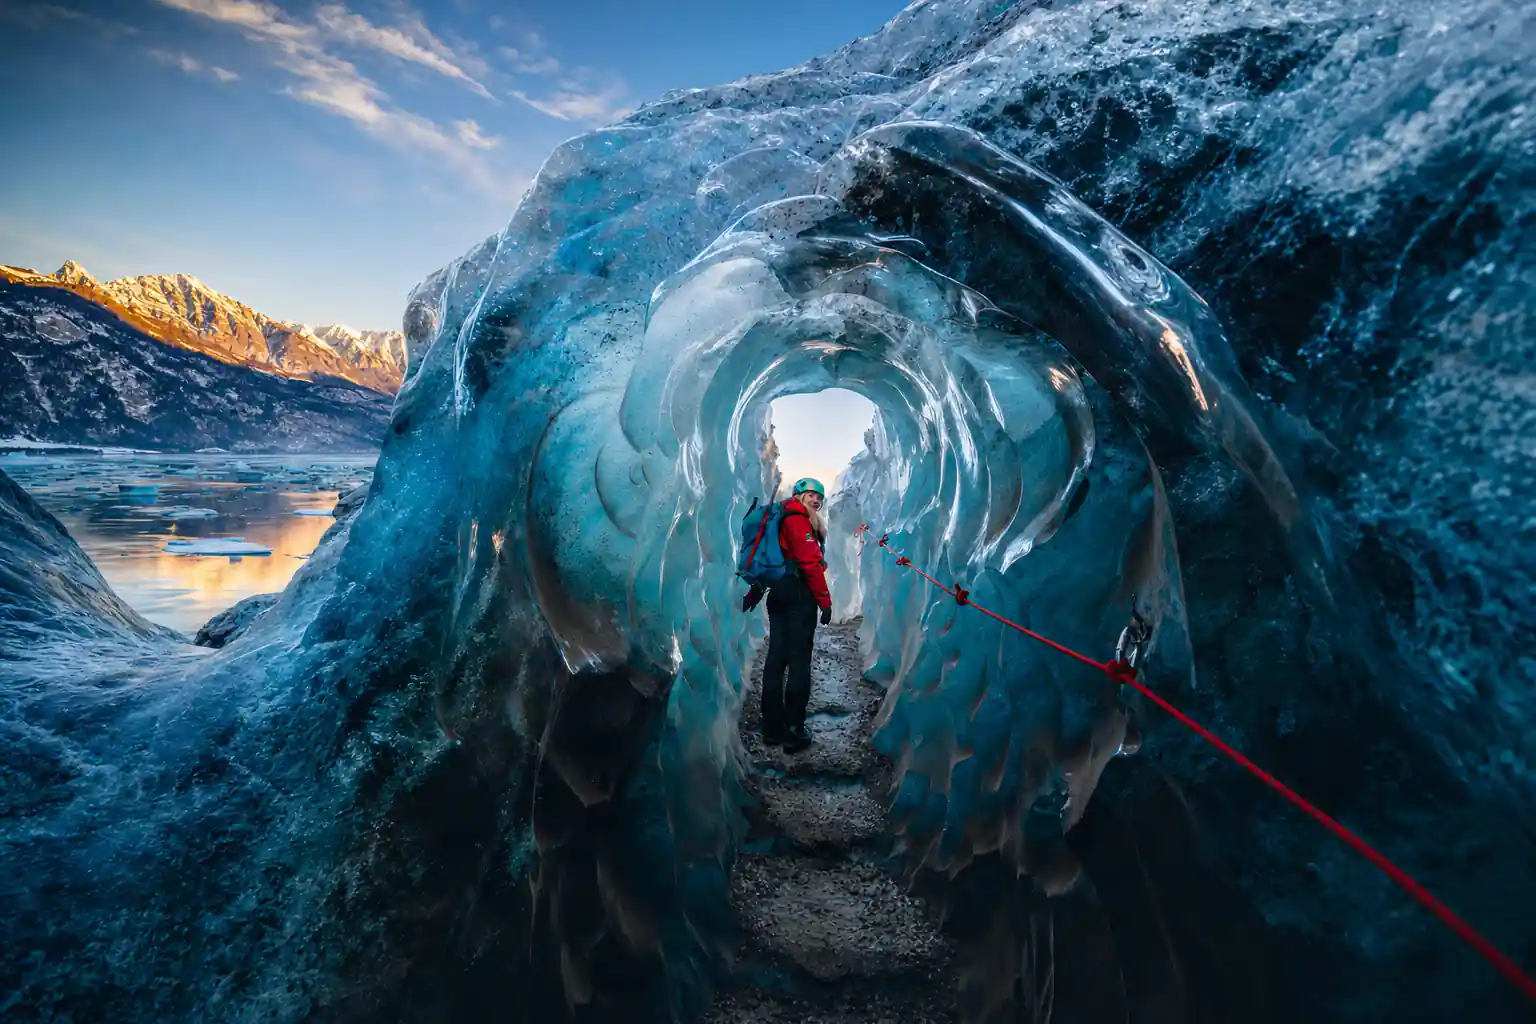
Blue light inside an ice cave on Vatnajökull
The wide stance and flat-foot walking technique
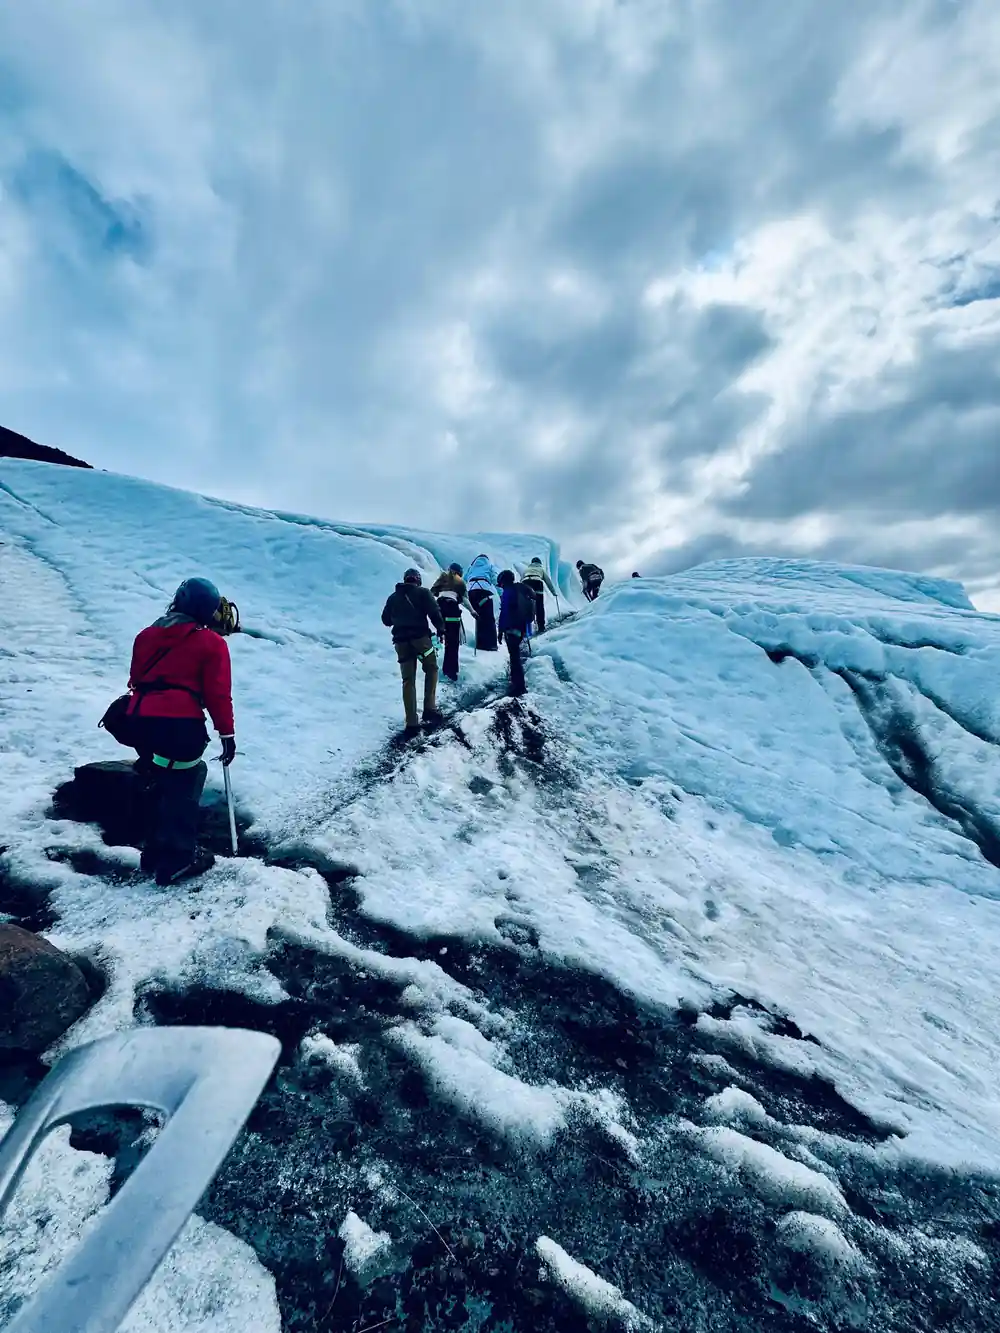
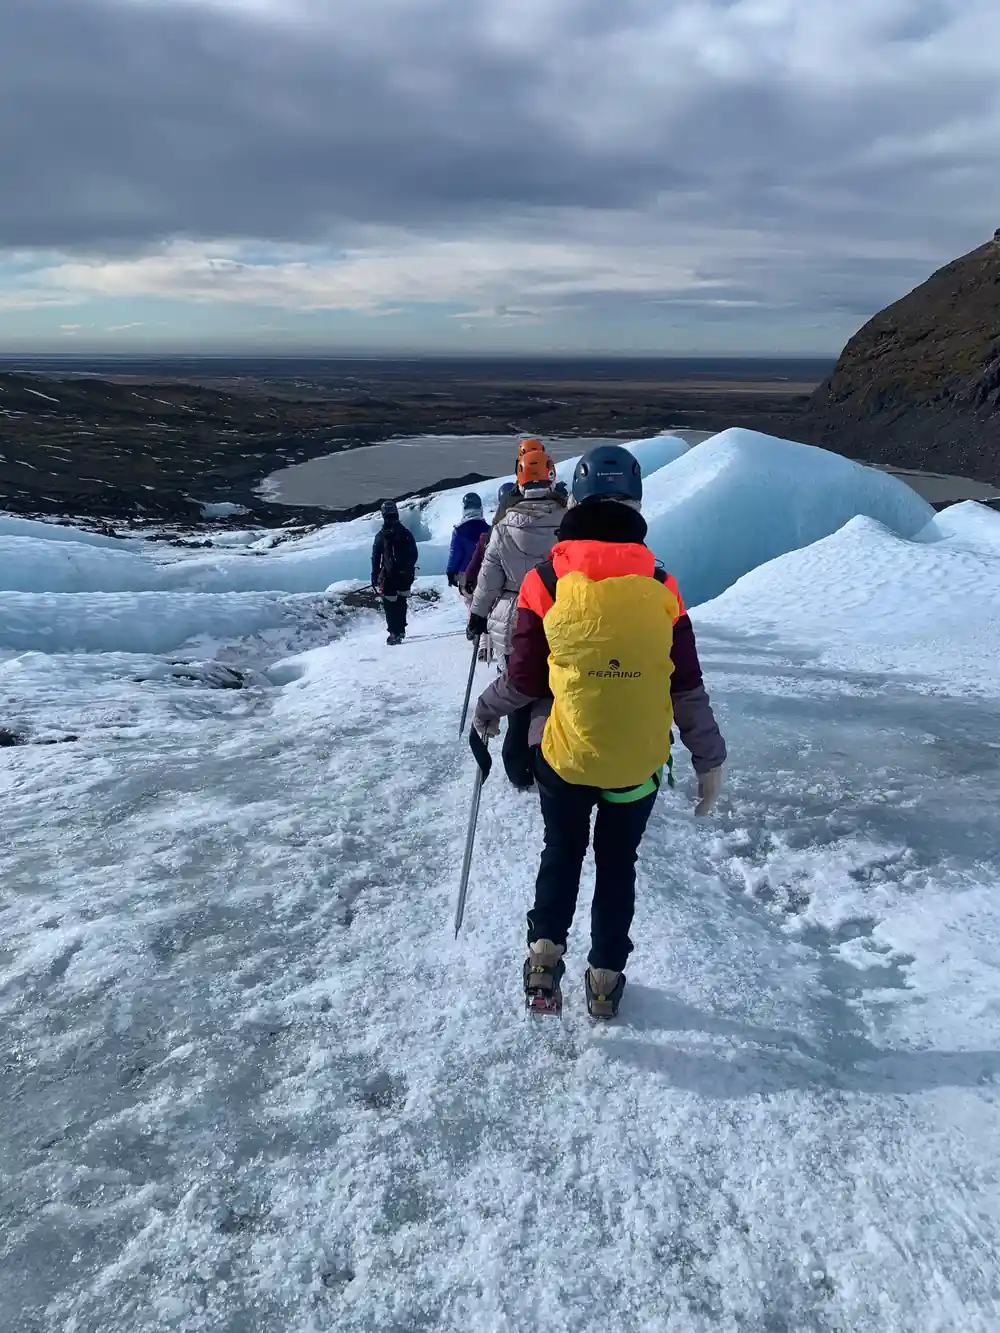
On the ice, forget how you normally walk. Turn your feet slightly outwards, set them about shoulder width apart and press the whole sole down at once rather than rolling from heel to toe. The idea is to keep as many points in contact with the surface as possible, and to stop the front spikes stabbing at every ridge and tipping you forward. Keep your knees slightly soft and avoid leaning out over your toes.
Steps should be short and deliberate, and you should not be in a hurry. If you feel a point skid, stop, plant your feet again and start moving with shorter steps still. A slow, even rhythm uses far less energy than a series of quick, uncertain ones, and your guide will set a pace the whole group can hold. Rushing on ice is how tired legs turn into a slip.
Look up when you stop. Vatnajökull has a surface area of approximately 8,100 square kilometers (3,127 square miles) and is the largest glacier in both Iceland and Europe[6], and the ice averages about 380 metres thick, though in places it is almost a kilometre deep[7]. Standing on a thin edge of something that size is worth a pause, and the pause is free.
Using your walking ice axe on glacial slopes
The axe on a guided glacier walk is a walking aid and, in a slip, a brake. Carry it by the head, with your palm over the top and your fingers around the shaft below the pick, and keep the shaft pointing down and back. When you cross a slope, the axe belongs on the uphill side of your body, not dangling and swinging at your hip.
On gentle ice, plant the axe with every second or third step, the way you would use a trekking pole, letting the metal tip bite and then releasing it as you step past. On steeper ground the guide will tell you when to swing the pick, how hard to set it and where to put your feet between placements. Keep the pick well away from the people in front of you.
Listen to the self-arrest demonstration even if you never expect to use it. The move is a roll onto the axe with your weight over the head and the pick driven into the surface, and it only works from the correct grip. Practising it on a safe slope costs a couple of minutes and makes the rest of the day feel noticeably calmer.
from US$167
Rated 4.62 from 848 reviews and limited to 12 participants, with a live English-speaking guide and free cancellation up to 24 hours in advance.[1]
When your guide uses the harness and rope system
Harnesses come out when the route crosses ground where a crevasse is possible, or when a rope would turn a stumble into a pause rather than an accident. Your harness sits high on your hips, above the hip bones, with the leg loops snug but not tight enough to pinch, and the buckle locked or doubled back the way the guide has shown you. Tuck every loose strap away. Your guide will check the buckle and the rope attachment before the group moves.
On a rope team you walk at the pace of the person in front and keep the rope clear of the snow between you rather than letting it drag. Watch the rope, not the view, whenever the ground changes. If the guide stops and takes in slack, stop too, and wait until you are told to move again.
Routes on these glaciers are redrawn from season to season. Since the year 2000, Icelandic outlet glaciers have retreated exceptionally fast, and their mass loss is among the highest recorded in the world[8], so the line you walk may not match the photos in an old blog post. That is the guide's job, not yours; your job is to follow the rope and keep your feet under you.
Helmet safety inside the blue ice cave
Helmets stay on inside the cave as well as out on the glacier. Set yours level and low enough at the front to protect your forehead, then tighten the chin strap until it is snug under your jaw without pressing on your throat. If the helmet rattles when you nod, take up the rear adjuster. Ice ceilings are lower and more irregular than they look in photographs.
Timing matters more than kit here. Ice caves in Vatnajökull's outlet glaciers are only accessible during winter months, from November and usually throughout March, depending on the weather[2], and cave conditions change through the winter. If your dates fall outside that window, the Katla Ice Cave in Mýrdalsjökull is one of the few ice caves in Iceland that can be visited year-round[9].
Blue ice glows because light travels through it, and that same light makes the surface outside dazzling. Pack dark sunglasses and use them on the approach as well as on the ice. Snow blindness builds slowly and quietly, and it can leave you with sore, gritty eyes for a day or two, which is a poor souvenir of an otherwise brilliant morning.
Avoiding tripping on your own crampon spikes
Most stumbles on a glacier hike happen on flat, easy ground rather than on a steep slope. A front point catches on a ridge of ice, a strap loop snags a bootlace, or a long trouser hem hooks a spike on the way up a step. Tuck strap ends in, cinch your trousers at the ankle and lift your feet instead of shuffling them along. Thin gloves are worth having, since cold hands fumble buckles.
Getting to the meeting point takes planning of its own. Skaftafell is about 327 km (203 miles) from Reykjavík by car via Route 1, a drive that takes approximately 4.5 hours[10], and the direct drive from Skaftafell to Jökulsárlón is 35.4 miles (57 km) and takes about 50 minutes in normal traffic[11]. Parking at Skaftafell is subject to a regional fee, with a passenger car of 5 or fewer seats charged 1,110 ISK[12].
If you have time either side of the walk, the Skaftafellsstofa Visitor Centre opens 10-17 in January and February, 9-17 in March to May, 9-19 in June to August, 9-18 in September and October, 9-17 in November and 10-17 in December[13], which makes it a sensible place to check conditions and warm up. Families should note that for Mountain Guides' easy glacier hikes in Iceland the minimum age is 8 years old, while more difficult glacier walks may have a higher minimum age[14].
How long you wear the gear: tour durations
Durations in hours as listed on GetYourGuide:[15],[16],[1],[17],[18] and[19].
Compare from-prices for ice cave and glacier tours
From-prices in US dollars per person, as listed for these GetYourGuide tours:[1],[4],[3] and[20].
Seasons and opening hours at Skaftafell
Gearing up, step by step
Meet and get fitted
Report to the base at Skaftafell, meet your guide and have the crampons, harness, axe and helmet fitted to you and to your boots.
Test the crampons
Grip each boot and try to twist the crampon. If it shifts, say so now, and ask the guide which strap takes up the slack.
Walk to the ice
Use the approach path to get used to the spikes on gravel and rock. Short steps, flat feet, no rolling from heel to toe.
Step onto the glacier
Follow the guide's line, keep your feet wide, press the whole sole down and watch the person in front rather than the view.
Rope up when asked
If the route needs it, clip in where the guide shows you, keep the rope tidy between you and walk at the pace of the group.
Ready to walk under the blue ice at Skaftafell?
from US$167Reserve now & pay later